Sometimes we need to use a lot of different colored pencils, and often what we have to do with those pencils is: sharpen the nib.
There are also many different types of pencil sharpeners on the market today. However, today I will try to make my own pencil sharpener with basic components
Supplies
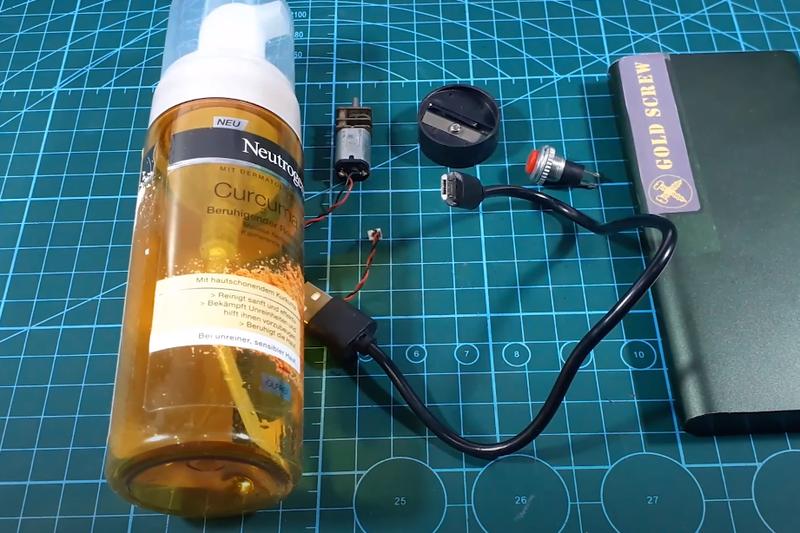
- Cosmetic Plastic Box
I reused my wife's empty cleanser box
- Pencil Sharpener
https://sea.banggood.com/custlink/mGKYbEl5Nm
- Motor N20
https://sea.banggood.com/custlink/3m3YnRL568
- Push release button
https://sea.banggood.com/custlink/GvGyAYatgl
- 5V USB power (computer or power bank)
https://sea.banggood.com/custlink/DDDRbyoPB6
* Or you can buy Deli Pencil Sharpener (Good choice)
https://sea.banggood.com/custlink/D3mdbYLV0T
Step 1: Connect the Motor With Sharpen the Pencil
After preparing all the necessary components and equipment.
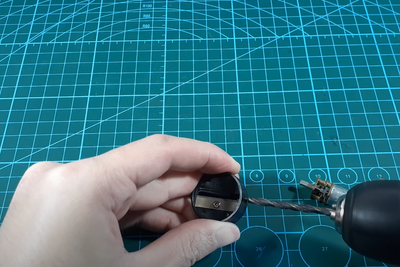
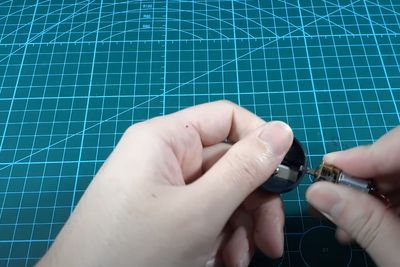
We will drill a small hole in the pencil sharpener so that we can attach the motor shaft to it.
There are many ways to attach them together: you can use glue, screws... as long as they are strong enough.
Step 2: Make BODY
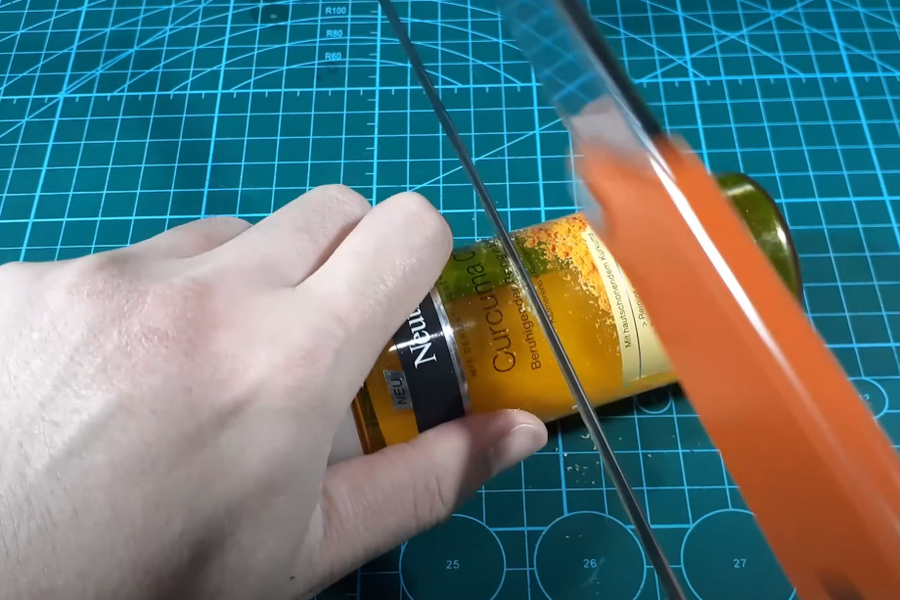
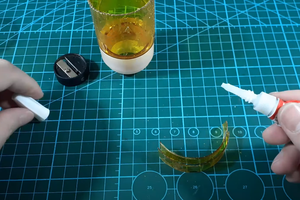
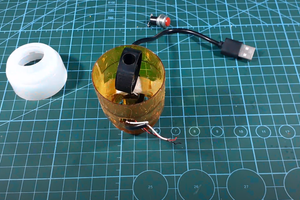
I will use a saw (or scissors) to cut the plastic box to the length of the motor and sharpen the pencil.
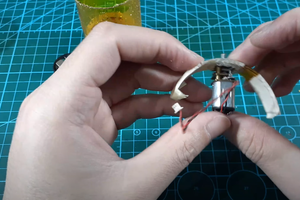
A part of the excess plastic will be used to make the shaft to attach the motor to the body of the box.
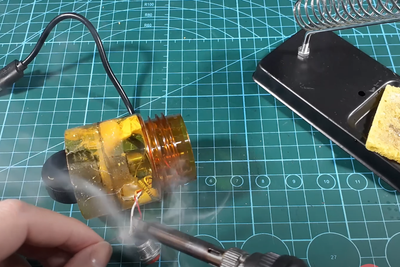
I use glue stick to connect the parts together. You have to make sure it's strong enough so it won't rotate when the motor is running
Step 3: Electrical Connection
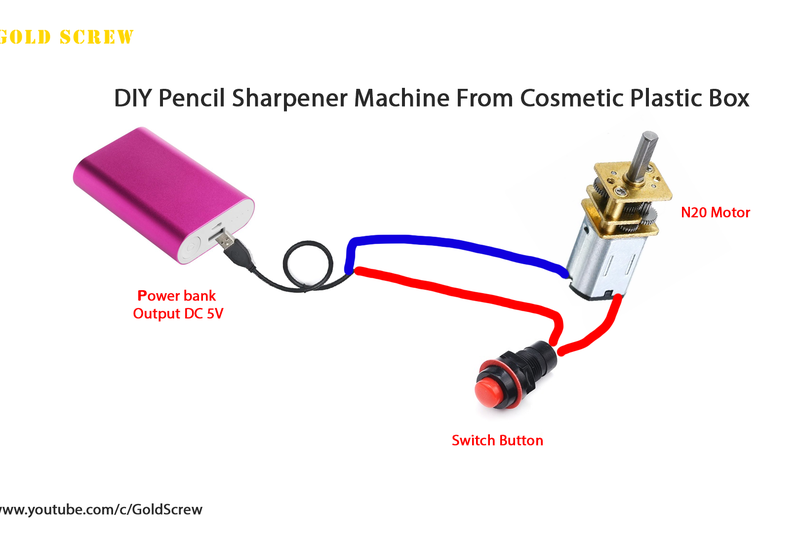
The circuit diagram here is very simple.
You will supply a 3~6v power supply to the N20 motor.
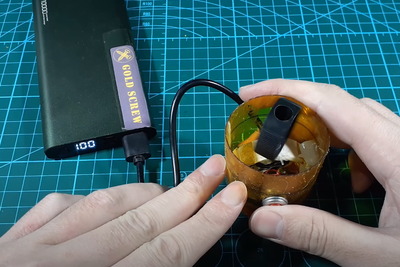
Here the fastest way is I will use 5V power bank. Then the positive pin will connect to a switch and go to the motor.
When the button is pressed, the motor will work
Step 4: Finish and Test
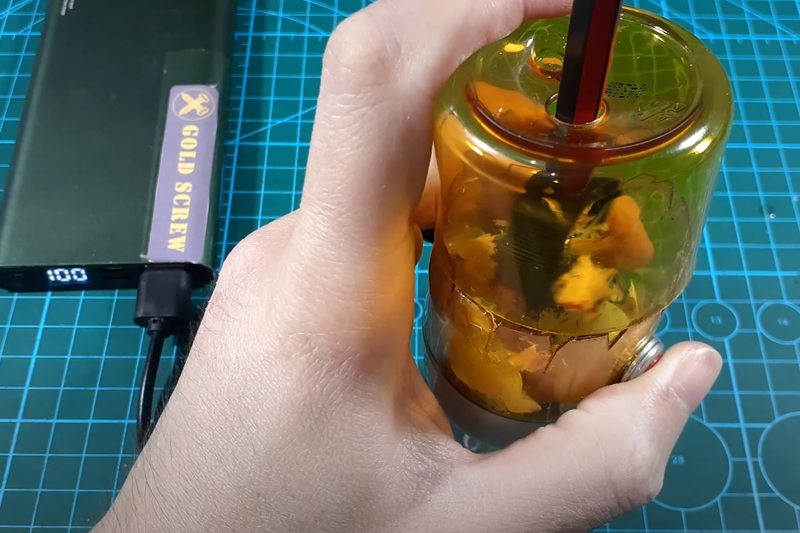
You press the button and the machine works.
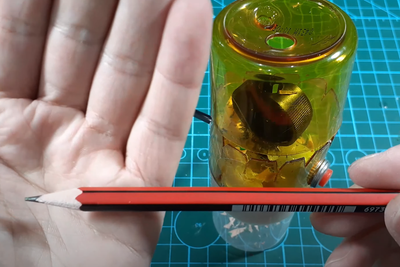
The tip of the pencil will be sharpened as usual, but it will save more time.
Garbage will be collected and dropped on the lid. You just take them out and dump them in the trash.
That's it, good luck!




0 Comments