


The idea for this project came from my daughter.
She wants a robot, and this robot can open its mouth so that it can put food in its mouth. So, I searched indoors for things that were available: cardboard, arduino nano, ultrasonic sensor, servo motor ... to be able to create a robot for girls to play in the fastest time, and at the lowest possible cost.
****** List of components ******
- 01 Arduino Nano
https://sea.banggood.com/custlink/KKvRtHtzvp
- 01 RC Servo G9
https://sea.banggood.com/custlink/mmvYVFPU3j
https://sea.banggood.com/custlink/mmvYVFPU3j
- 01 Mini Breadboard 400 holes
https://sea.banggood.com/custlink/mmvYVFPU3j
https://sea.banggood.com/custlink/mmvYVFPU3j
https://sea.banggood.com/custlink/mmvYVFPU3j
- Jumper wire (female to female)
https://sea.banggood.com/custlink/mmvYVFPU3j
https://sea.banggood.com/custlink/mmvYVFPU3j
IF YOU HAVE NOT BANGGOOD ACCOUNT, YOU CAN USING THIS LINK AND GET:
20$ and get a 10% any-purchase allowance:
https://banggood.app.link/1svVwxcb7ab
Step 1: Create Body


I'm using cardboard to make body of robot and hot glue to connect all the parts
Step 2: Make Eye Holes and Mouth


Step 3: Connect Components/Parts


Connect Servo and Ultrasonic sensor with Arduino Nano
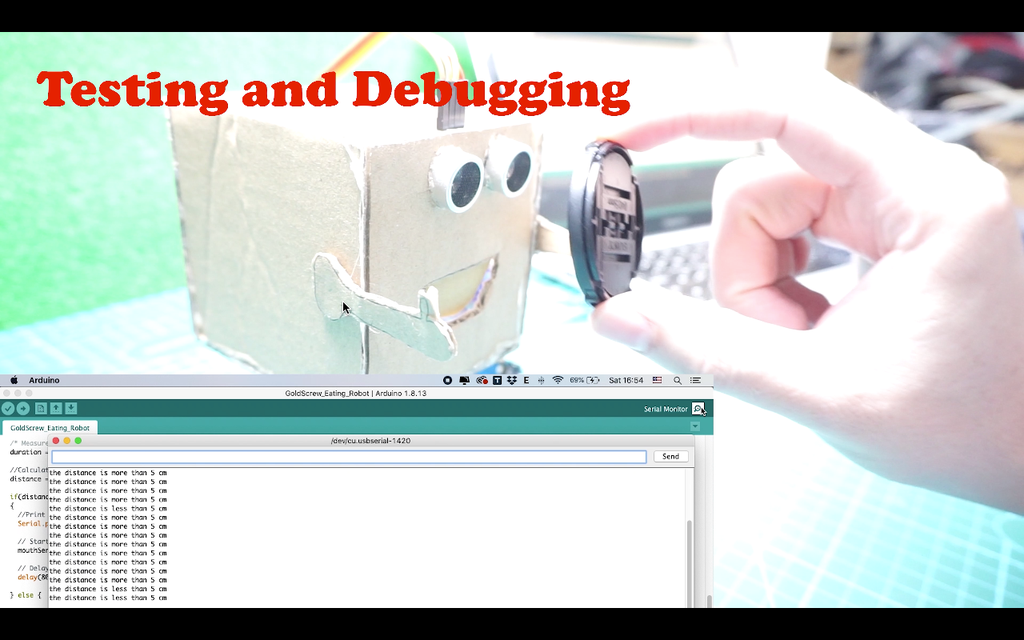
Step 4: Testing and Debugging
Step 5: Done


Connect power bank and start playing.
Hope you enjoy. Thanks!


0 Comments